
Turn Your Single Board Computer Into a Permanent Outline VPN Hotspot Gateway (Armbian Edition)
If you have a spare Single Board Computer (SBC) like an Orange Pi or Raspberry Pi lying around, you possess the perfect hardware to build a dedicated, secure network gateway.
In this guide, we will walk through a lightweight, high-performance bash script that automates transforming a fresh Armbian Bookworm installation into a permanent, secure Wi-Fi Access Point. Every device that connects to this hotspot will have its traffic transparently and securely routed through an Outline VPN (Shadowsocks) proxy with robust DNS-leak protection built directly into the kernel firewall.
Why Use This Script?
While there are GUI-based routing platforms out there, they are often bloated, heavy on system resources, or difficult to configure for containerized lightweight proxies. This script is engineered from the ground up to be minimalist, resilient, and fast:
-
True Zero-Configuration Client: Automatically parses complex SIP002 Outline access keys, handles Base64URL cryptographic decoding, and extracts target node endpoints natively.
-
Kernel-Level Layer 3 Routing: Bypasses sluggish user-space bridges by instantiating a virtual
tun0network device combined withtun2socksto transparently capture 100% of outbound IPv4 traffic. -
Full UDP & DNS Leak Mitigation: Unlike traditional SOCKS5 wrappers that drop UDP packets, this setup explicitly handles UDP relaying and redirects all local client DNS requests directly to Cloudflare (
1.1.1.1) over the secure encrypted tunnel. -
Persistent Architecture: Integrates cleanly with
systemdandNetworkManagerto ensure the firewall, the routing tables, and the Wi-Fi hotspot rebuild themselves instantly upon device reboots or sudden power losses.
Prerequisites
Before running the script, ensure your system meets the following minimal setup requirements:
-
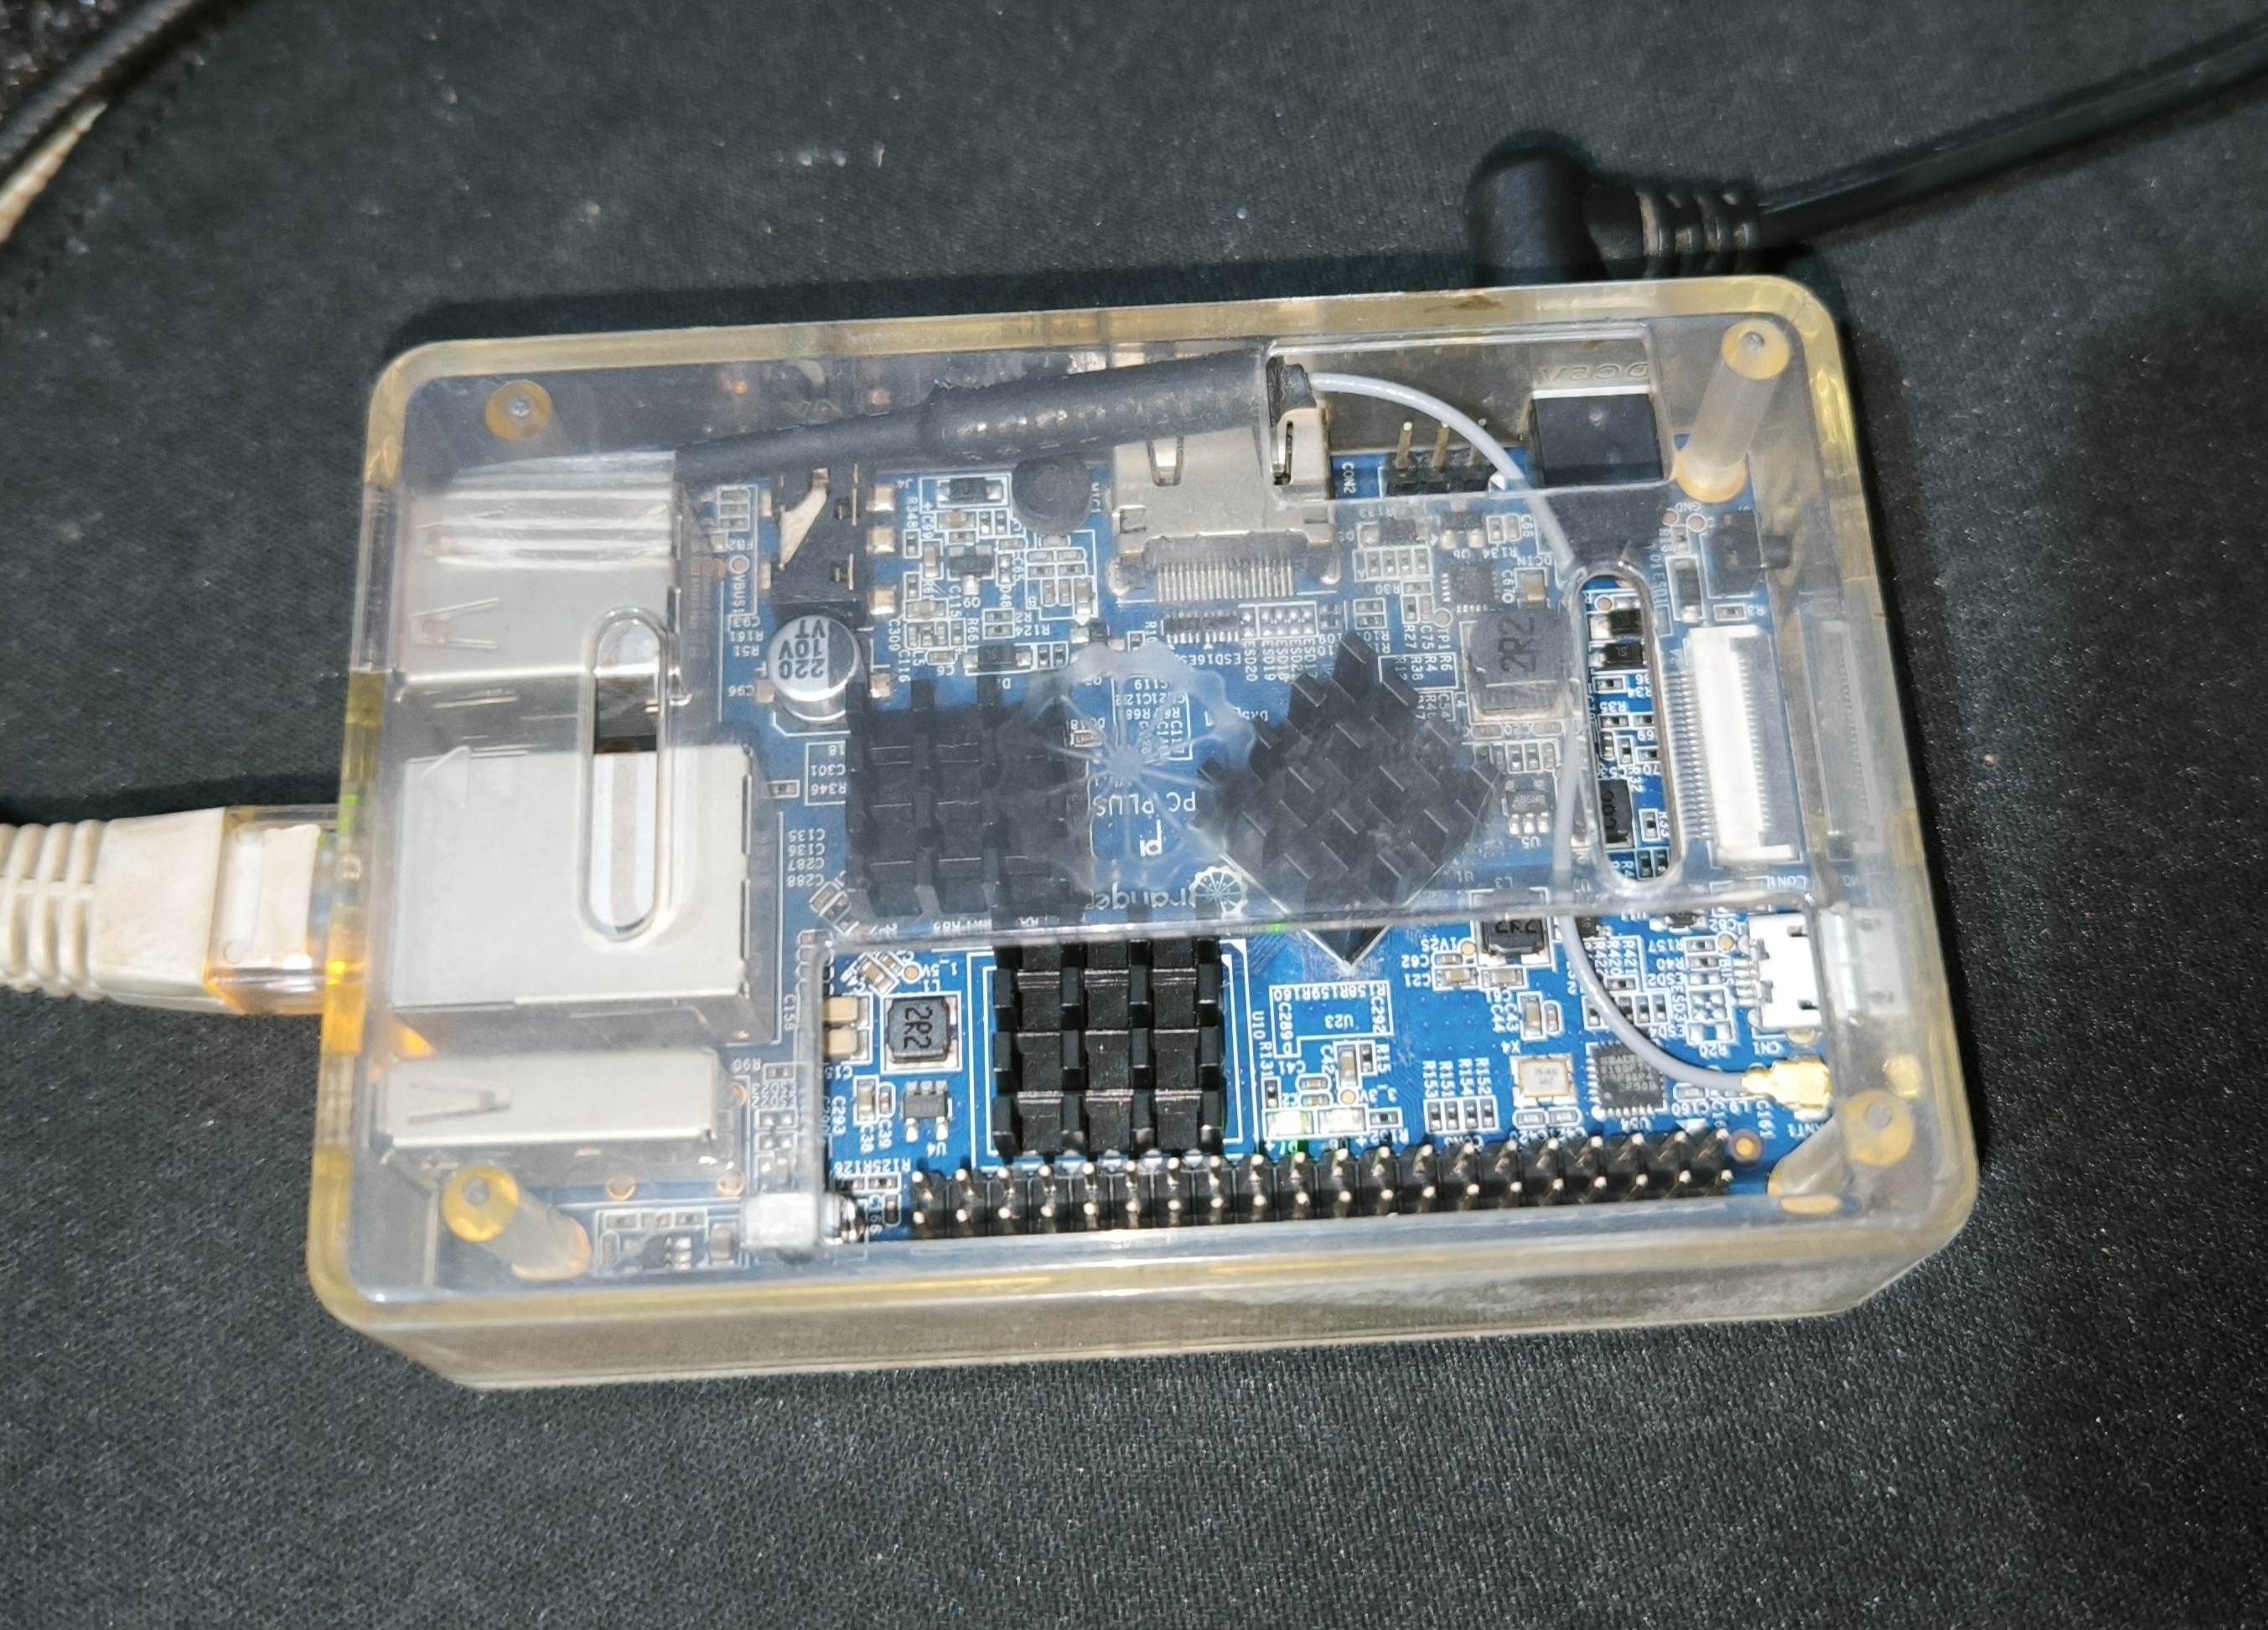
Hardware: An SBC (e.g., Orange Pi PC Plus) equipped with an active Ethernet/Wi-Fi connection for internet access (WAN) and a physical Wi-Fi chip capable of broadcasting Access Point (AP) mode.
-
OS: A clean flash of Armbian Bookworm (or any Debian/Ubuntu derivative utilizing
aptandNetworkManager). -
An Outline Key: A valid server access key string beginning with
ss://.
How to Deploy (Quick Start)
Because interactive scripts require dedicated access to your terminal terminal (TTY) for user inputs, downloading and executing must be done sequentially to prevent shell buffering issues.
Open your SBC’s terminal or connect via SSH, and execute the following two-line deployment command:
Bash
wget -O outline-hotspot.sh https://naeem.pk/olrtr/outline-hotspot.sh
sudo bash outline-hotspot.sh
Try my Android App to login into SSH terminal with SFTP support
The Interactive Setup Process
Once executed, the script will gracefully guide you through three simple configuration prompts:
-
Enter your Outline Access Key: Paste your raw
ss://...token string. -
Enter your desired Wi-Fi Hotspot Name (SSID): Choose the name you want your devices to see when scanning for Wi-Fi networks (e.g.,
SecureGateway). -
Enter your Wi-Fi Password: Type a password for your new network (must be at least 8 characters long to satisfy WPA2 constraints).
What Happens Behind the Scenes?
Once inputs are received, the script completely automates the heavy lifting:
-
It updates the local repository lists and fetches necessary core packages (
iptables,jq,dnsmasq-basefor handling local device DHCP IP generation, etc.). -
It strictly evaluates the host CPU architecture (
armv7l,aarch64, etc.) to grab the correct binary payload from upstream repositories without architecture collision errors. -
It provisions two critical background services (
outline-ss.serviceandoutline-tun.service) inside the initialization system (systemd) to monitor process health and force background restarts if an endpoint goes down. -
It flushes existing netfilter matrices and explicitly appends IP masquerading, routing rules (
0.0.0.0/1and128.0.0.0/1to split routing effectively around the physical gateway address), and packet-forwarding controls.
Finalizing the Installation
Once the execution phase logs a successful INSTALLATION COMPLETE notice to the screen, issue a clean restart command to allow the newly written kernel forwarding rules and system components to synchronize natively:
Bash
sudo reboot
After the system boots back up (approx. 45–60 seconds), your new secure Wi-Fi network will begin broadcasting natively. Simply connect your mobile devices, laptops, or smart home gear to the newly created SSID. Your connection is now fully encrypted, leak-proof, and routed seamlessly through your remote Outline node!
Managing Your Gateway
If you ever need to inspect the real-time transmission metrics or debug your network tunnel down the road, you can query the system services at any time using standard management protocols:
-
Check Tunnel Status:
sudo systemctl status outline-tun -
Check Proxy Status:
sudo systemctl status outline-ss -
View Real-Time Routing Logs:
sudo journalctl -eu outline-tun.service -f
